|
|
|
|
Note - Before you begin you will need to decide on a soap recipe.(Check our soapmaking link below for free recipes.) I would suggest using one that includes Palm or Coconut oil. These two oils make for a hard bar of soap and have a fairly quick trace time. Also, it is recommended that you run whatever recipe you choose through a lye calculator like Soap-Calc or one of the free online ones. This way you can adjust the lye content to leave the desired amount of excess fat in your soap. A bar with a lot of excess fat (over 5%) will moisturize your skin better than one with less than 5% however the one with less than 5% will leave you feeling cleaner. A lot of this depends on your skin type.
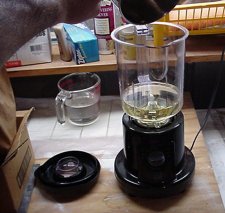
Making Soap in a Blender
Although using a blender does not allow for big batches of soap, it has four major advantages:
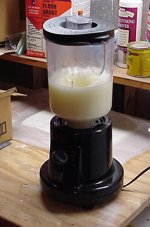
1) Blending your soap mix makes for a much shorter time to the thin trace stage. Instead of 15 - 40 minutes, it might require only minutes or even seconds.
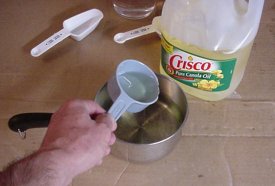
2) Since liquid fat and oils can be used at room temperature, no thermometers are required. For solid fats simply heat them until they are melted.
3) The blender effectively whips the lye water into the fats producing a much smoother mixture so the chances of your mix separating are greatly reduced.
4. Your soap bars will be creamier in consistancy and should float due to the air that is whipped into the solution.
(Use small one-pound batches
only).
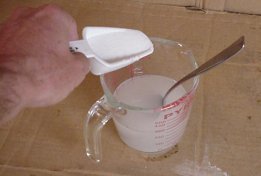
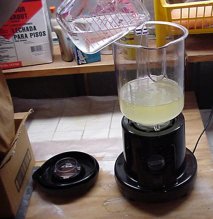
Step One - Dissolve the lye in cold water and wait until it cools and the
mixture turns clear. Make sure you are wearing goggles and gloves when handling lye. Never pour water into lye. Only pour lye INTO water.

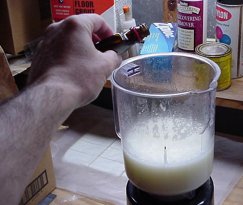
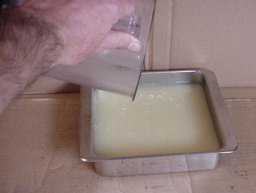
Step Four - At this point you can add any essential oils,colorants or fragrances as well as any other ingredients such as oatmeal or herbs. Blend these in for a few seconds and then stop the blender.
|
|
|
|
|
|
|
|
|
|
|
|
|
|
|
|
|
|
|
|
|
|
Third Party Advertising Google, one of our third-party advertisers, may add a cookie to determine targeted advertisements based on your preferences and your visit to our site and other sites on the internet. You can choose to opt out of Googles use of cookies by visiting the Google ad and content network privacy policy.